_edited.jpg)
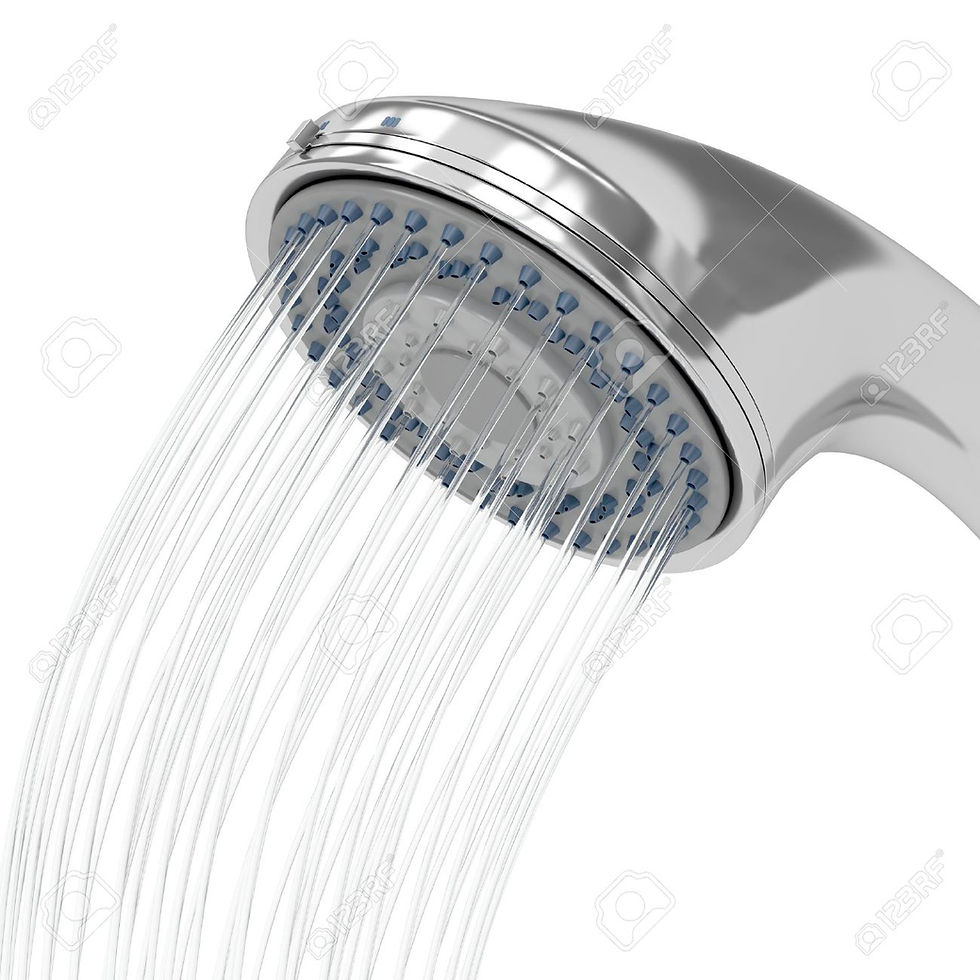
🛠️ How to Fix a Dripping Shower Head – Trusted Plumbing Tips from GladPro Plumbing Services in Gravesend, Kent, Essex & South East London
- GladPro Plumbing Services

- Sep 25, 2025
- 3 min read
Is your shower head constantly dripping, even after turning off the water? That annoying drip can waste water, increase your utility bills, and over time, even cause hidden damage behind walls due to moisture build-up.
At GladPro Plumbing Services, we’ve helped countless homeowners across Gravesend, Kent, Essex, and South East London stop leaks fast — and we’re here to help you do the same.
Read on for a simple, step-by-step guide on how to fix a leaking shower head, when to DIY, and when to call a local expert.
💧 Why Is My Shower Head Dripping?
A dripping shower head isn’t just frustrating — it can be a symptom of an underlying plumbing issue. Here are the most common reasons:
✅ 1. Limescale or Dirt Build-Up
Over time, hard water deposits and grime clog the nozzles and cartridges, disrupting water flow and causing leaks.
✅ 2. Worn-Out Washers or Rubber Seals
The rubber washer inside the shower head can break down or crack, allowing water to leak from the connection point.
✅ 3. Faulty Shower Valve or Cartridge
If the leak continues even with the shower turned off, the issue may lie in the internal shower valve or flow cartridge, which controls water flow. This usually requires professional attention.
🧰 How to Fix a Leaking Shower Head (DIY Guide)
What You’ll Need:
An old toothbrush
White vinegar
Small bucket or bowl
A towel
Replacement rubber washer (O-ring)
🛑 Step 1: Turn Off the Water Supply
Before you do anything, switch off your water supply to the shower. Lay down a towel to catch drips.
🧽 Step 2: Remove & Clean the Shower Head
Unscrew the shower head and soak it in white vinegar for 30 minutes.Scrub with an old toothbrush to remove grime and limescale. Pay attention to each nozzle.
🔍 Step 3: Check & Replace the Washer
Inspect the rubber washer inside the connection point. If it’s cracked or loose, replace it with a new washer.
🔄 Step 4: Reassemble and Test
Reattach the shower head and turn the water back on. Run the shower to check for leaks.
🛑 When to Call a Professional Plumber
If your shower head continues to leak after cleaning and replacing the washer, the problem may be:
A faulty thermostatic mixer valve
A worn or damaged cartridge inside the shower valve
Issues with internal plumbing connections or pipe pressure
These are not quick DIY jobs — and attempting them without the right tools or knowledge could lead to water damage.
📞 That’s where GladPro Plumbing Services comes in.
🧑🔧 Expert Shower Repairs in Gravesend, Kent, Essex & South East London
At GladPro, we can help you with:
Shower valve repairs
Replacing thermostatic mixer cartridges
Leak detection and prevention
Water pressure issues
Full bathroom plumbing services
Whether it's a minor drip or a more complex valve issue, we’ll diagnose the problem quickly and fix it properly — all with a 12-month guarantee on our work.
💸 Senior Discount: We proudly offer 15% OFF all plumbing services for customers aged 60 and over.
📍 Need a Local Plumber You Can Trust?
Don’t ignore that dripping shower — it won’t fix itself!
📍 Areas We Cover: Gravesend, Dartford, Rochester, Maidstone, Basildon, Southend, Bromley, Bexley, Lewisham & more in Kent, Essex, and South East London.
📞 Call Today: 07375 702735
📧 Email Us: Gladproplumbingservices@outlook.com
🌐 Visit: www.gladproplumbingservices.com
🛁 Want more plumbing tips? Read our latest blog posts to keep your home safe, dry and efficient — or give us a call if you’d rather leave it to the pros.


Comments